Knitting and crocheting are popular hobbies that allow people to create beautiful and unique items. However, joining yarn can sometimes be a challenge, as it can create visible knots or bulky transitions. But fear not, because there is a magical solution to this problem – the Magic Knot technique. In this article, we will explore how to master this technique for seamless yarn joins.
Understanding the Magic Knot Technique
The Magic Knot technique is a clever way to join yarn without leaving any visible knots or bumps. It creates a smooth and seamless transition, making it perfect for projects that require a continuous flow of color or yarn. Whether you are working on a scarf, a blanket, or a sweater, mastering this technique will elevate the quality of your finished piece.
Choosing the Right Yarn
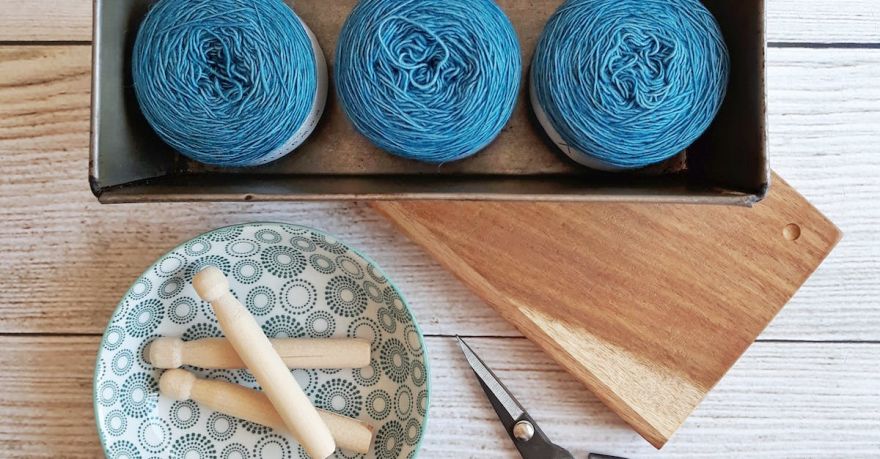
Before diving into the Magic Knot technique, it is important to choose the right yarn for your project. Opt for yarns that are smooth and not too bulky, as they will result in a neater and more seamless join. It is also advisable to use yarns of the same weight and texture to ensure a cohesive look.
Preparing the Yarn
To begin, cut the yarn from your skein to the desired length for joining. Make sure to leave a tail of approximately six inches on both ends. This will give you enough yarn to work with while making the knot.
Creating the Magic Knot
1. Take the two ends of your yarn and overlap them, with one end overlapping the other by about two inches.
2. Hold the overlapping sections tightly between your thumb and index finger.
3. Twist the overlapped section of yarn to create a loop.
4. Insert the tail of the first end through the loop from the bottom to the top.
5. Repeat step four with the tail of the second end, but this time insert it through the loop from the top to the bottom.
6. Gently pull both tails to tighten the knot.
Finishing the Join
Once the Magic Knot is securely tightened, gently tug on the yarn to ensure that the knot is secure. You should feel confident that the join will not unravel as you continue working on your project.
Trimming the Tails
After the join is complete, trim the excess yarn tails to about half an inch. Be careful not to cut too close to the knot, as this can weaken the join. Leaving a small tail will ensure that the knot remains intact while seamlessly blending into your project.
Practicing and Perfecting
As with any new technique, practice makes perfect. Take the time to practice the Magic Knot technique on scrap yarn before using it on your actual project. This will help you become more comfortable with the process and allow you to make any necessary adjustments.
In conclusion, the Magic Knot technique is a game-changer for achieving seamless yarn joins. By following these steps and practicing the technique, you will be able to create beautiful, professional-looking projects without any visible knots or bulky transitions. So, grab your yarn and needles or hook, and start mastering this magical technique today!